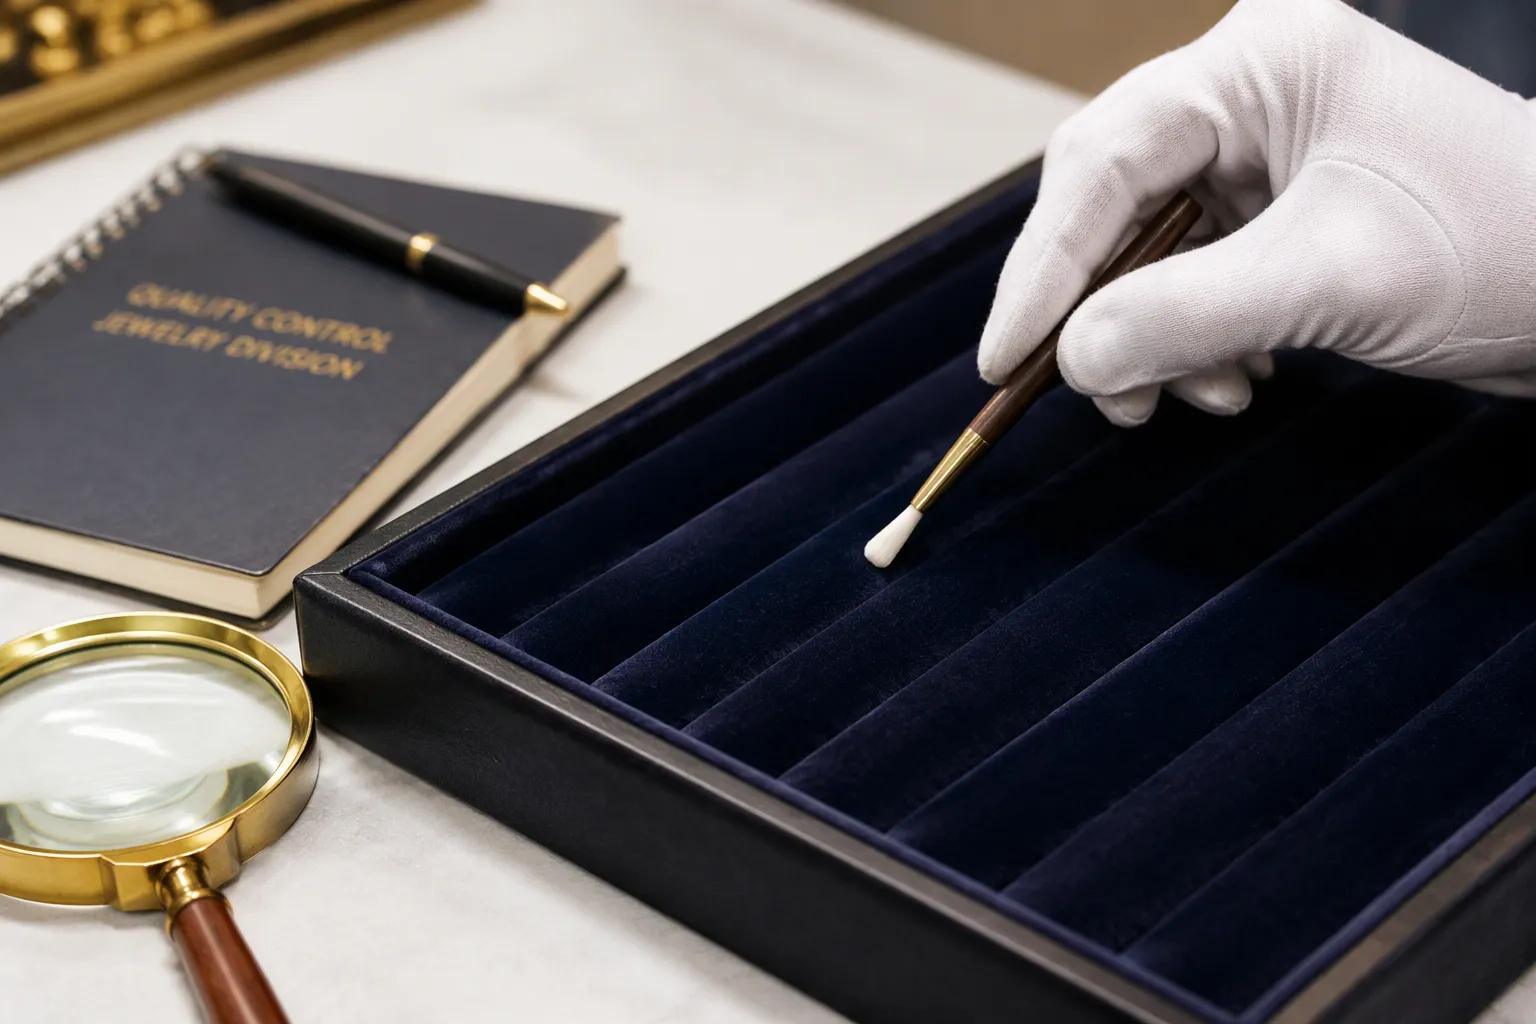
Three methods answer the wear question: abrasion testing with standard equipment, manual rub testing for quick checks, and structured visual assessment under consistent lighting. Each method shows how a velvet lining holds up after repeated contact with rings, pendants, and hands. These checks matter for any commercial Jewerly Tray on a retail counter, where worn pile flattens the look of fine pieces and shortens replacement cycles. This guide gives QA professionals, display manufacturers, and retail buyers a practical, step-by-step sequence. Readers can prepare samples, run tests, score results, and compare them against clear pass or fail criteria.
Punti chiave
- Test the velvet lining in three ways: abrasion testing, manual rub testing, and visual assessment.
- Wear resistance protects the brand’s image and lowers the cost of replacing jewelry trays.
- Act out real store handling to get accurate test results.
- Keep the lighting and pressure the same so your tests give the same results each time.
- Reject the batch if any sample has a bald spot or color transfer.
Why Wear Resistance Matters for a Commercial Jewerly Tray
Presentation and Brand Perception
A worn velvet lining changes how shoppers see a display. Flat pile, faded color, and bare spots pull the eye away from the jewelry itself. Customers connect that shabby surface to the quality of the pieces on it, even when the rings and pendants are perfect. A clean, plush lining shows care and craftsmanship. A tired one shows neglect.
Retailers put a lot of money into counter presentation, and the tray carries much of that visual weight. Buyers judge a store within seconds of walking up to the case. Velvet that keeps its texture after months of daily handling keeps that first impression strong. For a commercial Jewerly Tray, wear resistance is therefore a brand asset, not just a material spec.
Cost and Replacement Cycles
Velvet-lined wooden ring display racks and stackable showcase sets get constant contact. Staff lift rings on and off, slide trays across counters, and rotate stock between showcases. Each action wears the pile down a little more. Once the surface shows visible wear, the tray usually leaves service, even if the wood frame is still sound.
That replacement rhythm drives real cost. Stores that replace trays often spend more on display refresh and lose selling time during swaps. Durable velvet lining options from Shenzhen Tongxing Packaging Co., Ltd. help extend service life and reduce that churn. Buyers can review commercial jewelry tray solutions with durable velvet lining options before setting replacement budgets.
Step-by-Step Testing Methods
Testing follows a clear sequence. Each step builds on the last, and readers can repeat the process across batches for comparable results.
Abrasion Testing
Abrasion testing uses a standard instrument to apply controlled rubbing action to the velvet surface. Two common choices are the Taber abrasion tester and the crockmeter. The Taber unit rotates a specimen under weighted abrasive wheels. The crockmeter rubs a flat specimen back and forth with a weighted finger covered in cloth.
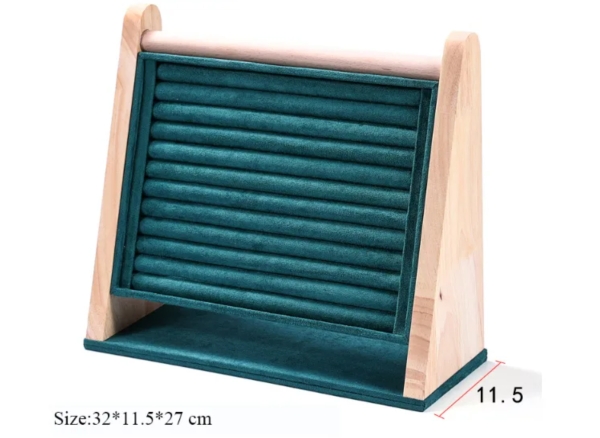
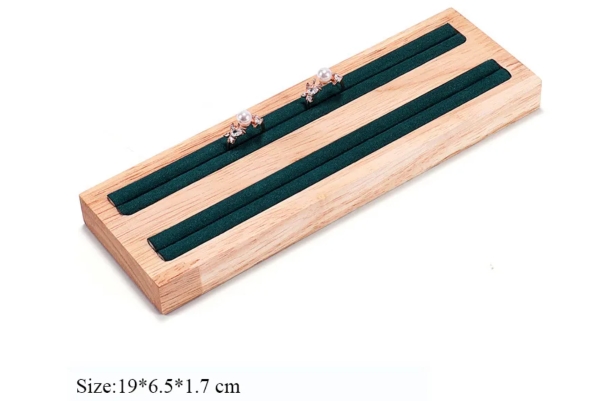
Sample preparation comes first. Cut a flat section of velvet lining from a representative tray, such as a wood base velvet lining ring display rack dish. Keep the fabric attached to its backing where possible, because the backing affects how the pile responds to pressure. Mount the sample in the instrument holder and confirm it sits flat with no wrinkles.
Next, set the instrument to the agreed load and speed. Start the machine and let it run to the target cycle count. The tester tracks cycles automatically, so operators record the count at each inspection interval. Stop at the first interval, lift the sample, and inspect the rubbed area. Repeat until the run reaches the full cycle count or the surface fails. Photograph each interval under the same lighting for a visual record.
Manual Rub and Visual Assessment
Manual rub testing gives a fast field check when full lab equipment is not available. The method works well on the retail floor or during incoming inspection.
- Wrap a clean, dry rubbing cloth around one finger.
- Press the cloth against the velvet with steady, moderate pressure.
- Rub back and forth in a straight line for a set number of strokes.
- Rotate the sample ninety degrees and repeat in a second direction.
- Inspect the rubbed zone after each set of strokes.
Pair the rub test with structured visual assessment. Place the tray under a consistent light source, such as a daylight-balanced lamp. Hold the sample at a low angle to catch the pile texture. Look for fiber loss, pile flattening, color transfer to the cloth, and bald spots. A magnifier helps confirm early wear that the eye might miss.
Score each observation against the pass or fail criteria before moving to the next sample. This pairing of rub and visual check keeps field results aligned with lab results. QA teams at Shenzhen Tongxing Packaging Co., Ltd. can run the same sequence on production samples of any Jewerly Tray before shipment. Consistent steps and consistent lighting make the difference between a useful check and a guess.
Equipment, Materials, and Evaluation Criteria
Tools and Sample Preparation
A good wear test begins with the right set of tools. The abrasion tester and crockmeter are the main instruments for controlled rubbing. A clean, dry rubbing cloth is used for the manual rub check. A daylight-balanced light source keeps visual scoring the same across operators. A magnifier shows early fiber changes that the naked eye misses. Sample trays complete the kit, and each batch should include several units for repeatability.
Sample preparation follows a set routine. Pick a representative tray from the production batch, such as the wood base velvet lining ring display rack dish, which gives a flat, easy-to-reach velvet surface. Cut a piece of lining big enough to fit the instrument holder. Keep the fabric attached to its wood backing when possible, because the backing changes how the pile reacts to pressure. Mount the sample flat, with no wrinkles or folds. Label each sample with its batch code and tray type. Shenzhen Tongxing Packaging Co., Ltd. prepares samples this way for every Jewerly Tray line before shipment.
Interpreting Pass/Fail Results
Clear criteria turn observations into decisions. Inspectors compare each tested sample against four failure signals: visible fiber loss, pile flattening, color transfer to the rubbing cloth, and bald spots. A single bald spot counts as a fail no matter the cycle count. Light pile flattening that recovers after brushing may pass, depending on the agreed threshold. Color transfer gets a fail score when the cloth shows a clear tint under the standard light source.
| Failure Signal | Observation Method | Fail Condition |
|---|---|---|
| Fiber loss | Visual check with magnifier | Loose fibers shed onto cloth or surface |
| Pile flattening | Low-angle inspection | Crushed pile that does not recover |
| Color transfer | Rubbing cloth inspection | Visible tint on the cloth |
| Bald spots | Direct visual check | Any exposed backing or bare patch |
Document every result with a photo taken under the same lighting. Record the cycle count at failure for each sample. Compare the batch average against the agreed acceptance level. A batch passes when no sample shows a bald spot and most samples meet the other criteria. Borderline results call for a retest with fresh samples. This scoring discipline keeps judgments consistent across inspectors and production runs.
Practical Tips for Accurate Testing
Simulating Real Retail Use on a Jewerly Tray
Lab results only count when they match what happens at the counter. Testers should copy the motions a tray really goes through. Staff lift rings and pendants on and off many times a day. They slide trays across glass counters and move stock between showcases. A good test repeats these actions in order.
One simple method uses a weighted handle to press rings and pendants onto the velvet in the same spot, then lift them off. Testers do this many times to act out a busy selling day. They also drag the tray a short way across a hard surface to copy counter handling. Turning the sample between placements spreads the wear the way real display rotation does. Shenzhen Tongxing Packaging Co., Ltd. builds its test routines around these store motions so results reflect daily use.
Ensuring Consistency and Repeatability
Repeatable results depend on fixed conditions. Every operator should use the same pressure, run the same cycle count, and inspect under the same lighting. A small pressure gauge on the manual rub tool takes out the guesswork. A written cycle target keeps runs similar across shifts.
Using several sample trays from each batch guards against one-off results. Testers should score at least three units per batch and average the findings. They should also label every sample and log the conditions in a shared record. The same steps across batches turn single checks into a reliable trend. The goal stays simple: test the tray the way stores and homes really use it, and the numbers will mean something.
A full wear check has four steps. Testers get a sample that represents the batch, then run the abrasion tester or a manual rub. Next, they check the surface under the same lighting every time. Last, they compare each result to the pass or fail rules. This order turns scattered notes into a clear verdict on any Jewerly Tray.
Results mean the most when the test copies real store handling. Placing rings again and again, sliding trays on counters, and rotating displays show how a lining really holds up. Teams should use these methods the same way on every batch. Shenzhen Tongxing Packaging Co., Ltd. supplies commercial jewelry tray solutions and supports this testing discipline.
FAQ
Which test suits a quick incoming inspection?
Manual rub testing fits this job best. An inspector wraps a clean cloth around one finger, rubs the velvet in two directions, and checks the surface under a daylight-balanced lamp. The method needs no lab equipment. Shenzhen Tongxing Packaging Co., Ltd. uses this check on production samples before shipment.
How many trays should a batch test include?
Testers should score at least three units per batch and average the findings. Several samples guard against one-off results. A single tray can hide a defect or exaggerate a good run. Labeling each sample and logging conditions keeps the batch record reliable.
What counts as an immediate failure?
A bald spot fails at once, whatever the cycle count. Visible color transfer to the rubbing cloth also fails under the standard light source. Loose fibers that shed onto the cloth or surface raise a red flag. Inspectors confirm each signal with a magnifier and a photo.
Can a store run these checks without a lab?
Yes. Store staff can copy the manual rub and visual steps with a clean cloth, a daylight lamp, and a magnifier. They repeat ring and pendant placement to mimic daily handling. Consistent pressure, lighting, and stroke counts keep field results comparable across visits.
Why does lighting matter so much during assessment?
Pile flattening and early fiber loss show up best at a low viewing angle under steady, daylight-balanced light. Changing lamps between checks hides small changes and skews scores. A fixed light source lets different inspectors judge the same tray the same way.