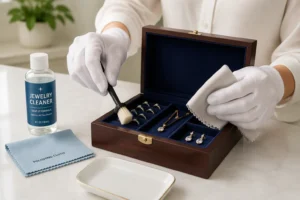
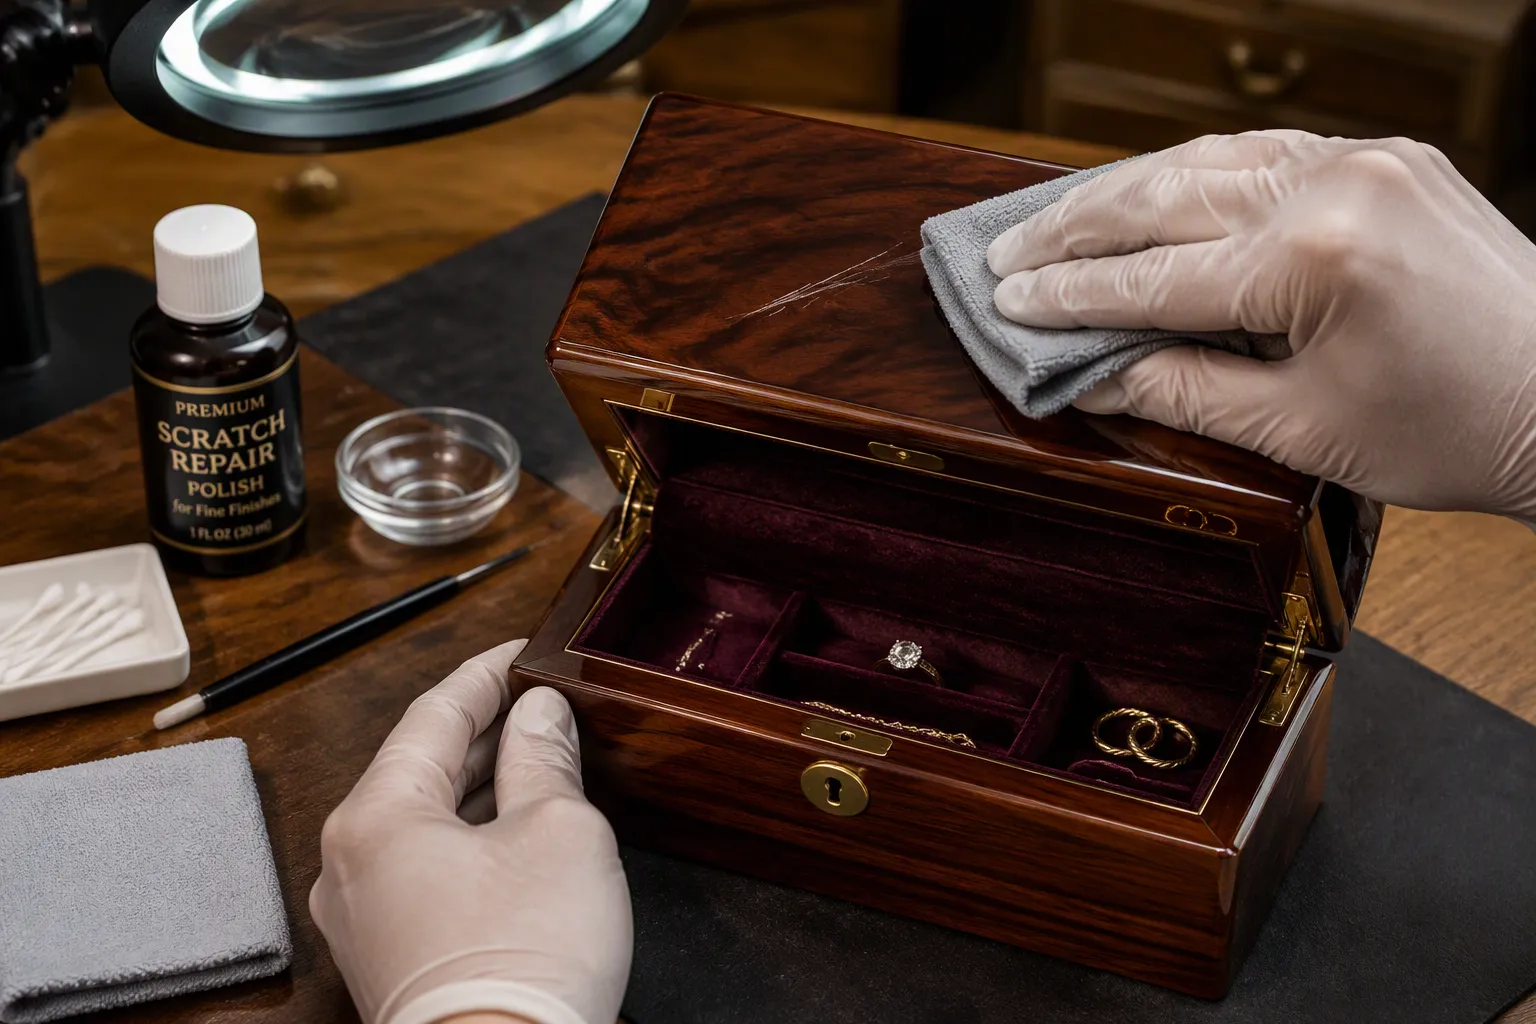
The fastest safe fix for minor scratches on premium lacquer jewelry boxes is a lacquer repair pen or a tiny amount of clear nail polish. These methods fill and seal the scratch instead of stripping the finish. Acting quickly prevents small scratches from trapping dirt and becoming more visible. The key rule is to use as little product as possible and never rub aggressively. If the scratch is deep or the finish is cracked, stop and consider a professional instead. For those who value custom jewelry boxes from a jewelry packaging manufacturer, proper care preserves both beauty and value. A jewelry box from a quality jewelry packaging source deserves gentle handling. Whether displayed on a Jewelry Display or stored in a Jewelry Pouch, these boxes protect precious items. This guide helps owners of jewelry boxes repair minor scratches safely.
Gather Your Materials to Repair Minor Scratches
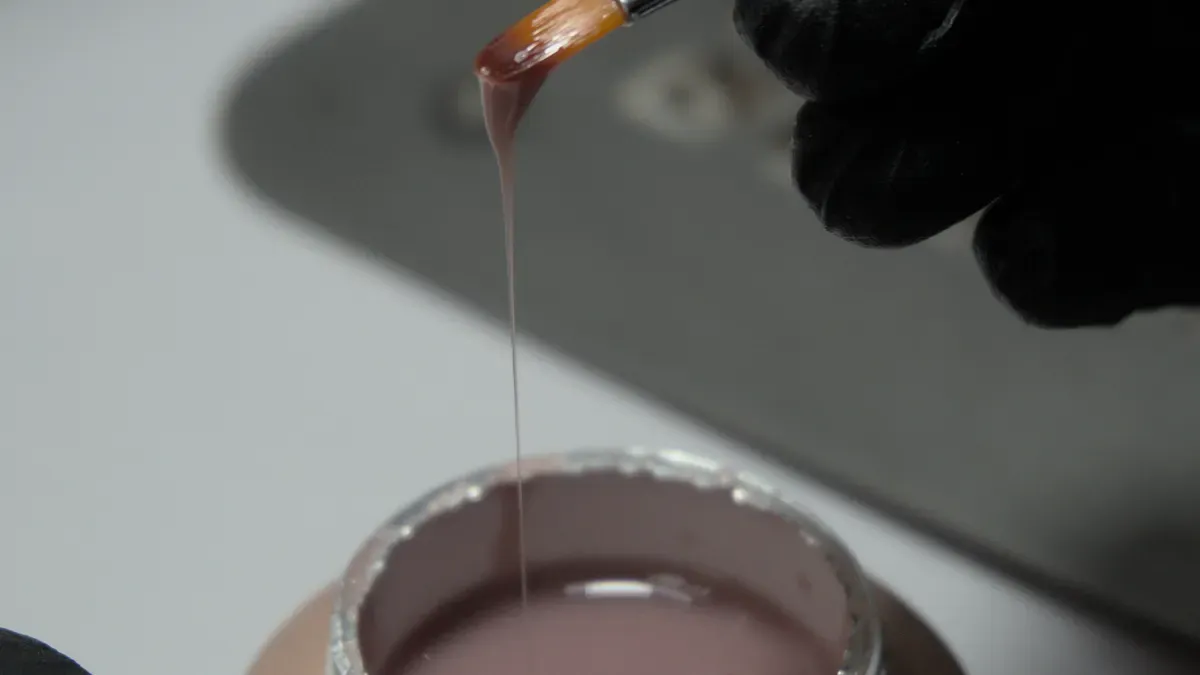
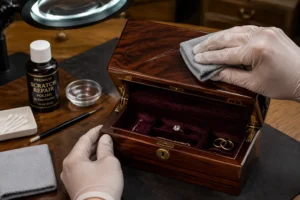
Assemble the correct tools before starting. A well-prepared workspace prevents accidental damage. Owners of premium jewelry boxes should gather items that fill, clean, and polish the affected area. Each tool serves a specific purpose in preserving the box.
Essential Repair Products
Lacquer Repair Pen
A pen deposits a thin layer of tinted resin directly into the scratch. This tool works well on shallow surface marks. Technicians use lacquer or shellac resin sticks for slightly deeper damage; the resin melts and fills the void. The pen remains the easiest option for a novice. Choose a color that matches the box’s exterior.
Clear Nail Polish
Clear nail polish offers a quick alternative for tiny scratches. A glossy formula dries hard and seals the damaged area. Use a fine brush or toothpick for application. This product suits clear or light-colored surfaces best. The method requires patience and a steady hand.
Cleaning and Finishing Supplies
Soft Lint-Free Cloths
Soft lint-free cloths prevent additional damage during cleaning. Microfiber cloths outperform cotton by trapping more particles. Keep several cloths ready for different stages of the process. A clean cloth removes dust without pressing hard on the surface.
Mild Soap and Water
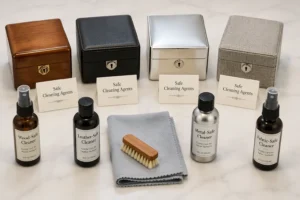
Mild soap and water removes oils and sticky residue from the damaged area. A diluted gentle soap-and-oil solution works best for spot treatment. Avoid harsh ingredients that attack the surface:
- Ammonia-based cleaners can dry out the wood.
- Alcohol-based solutions harm antique finishes.
- Silicone-based polishes trap moisture, leading to yellowing and cloudiness.
To clean an old wooden jewelry box, use a damp microfiber cloth with a mild soap and water mix at a 1:8 ratio. Always wipe along the wood grain and dry immediately to avoid damage.
Test any solution on a small, inconspicuous area first.
Microfiber Buffing Cloth
A microfiber buffing cloth restores shine after the filler dries. This cloth polishes the surface without leaving lint behind. Use light circular motions during buffing. Keep this cloth separate from the cleaning cloth.
Optional Helpers
Cotton Swabs
Cotton swabs apply product precisely to fine lines. They also clean tight crevices on jewelry boxes. Ultra-soft cosmetic brushes reach detailed areas without scratching. A swab prevents spreading solution beyond the scratch.
Painter’s Tape
Painter’s tape protects nearby surfaces during the process. It masks off gold trim, inlays, or hardware. Apply tape around the scratch to protect the jewelry box’s trim. Remove the tape only after the filler dries.
Magnifying Lamp
A magnifying lamp reveals the true depth and length of a scratch. Bright light helps the user see tiny cracks invisible to the naked eye. This tool confirms whether the scratch penetrates the jewelry box’s finish. If the damage exposes raw wood, skip the DIY route and call a professional. The surface requires gentle handling and careful material selection, unlike polyurethane.
Clean the Scratched Area on Your Jewelry Box Gently
A clean surface prepares the lacquer for a lasting repair. Dirt, oil, and old polish prevent fillers from bonding properly. The cleaning process requires patience and the right materials. A careful approach protects the delicate finish on premium jewelry boxes.
Remove Dust and Debris
Wipe With a Dry Soft Cloth
A soft, dry microfiber cloth removes loose dust from the surface. The operator wipes the scratched area with gentle strokes. This step eliminates particles that could cause further scratches during the repair. A clean cloth prevents cross-contamination from other surfaces.
Use a Damp Cloth for Sticky Residue
Sticky residue demands a slightly damp cloth. The user mixes a small amount of water with one drop of mild soap. This solution lifts wax, grime, and old polish from the surface. The operator wipes along the grain of the wood. A damp cloth also removes fingerprints and oils left by handling. For stubborn grime, mineral spirits help fillers and stains adhere properly. The user applies the solution to a cloth first, never directly onto the jewelry box.
Avoid Harsh Cleaners
Skip Alcohol and Ammonia Products
Alcohol and ammonia products damage lacquer surfaces. These chemicals strip the protective layer and cause cloudiness. The user avoids glass cleaners, all-purpose sprays, and window solutions. Such products leave the finish vulnerable to future damage.
Skip Abrasive Sponges and Toothpaste
Abrasive sponges and toothpaste scratch the surface further. These materials create new scratches instead of removing existing ones. The user selects only soft cloths for cleaning jewelry boxes. Gentle methods preserve the original shine.
Let the Surface Dry Fully
Air Dry Before Repair
A clean and dry surface is essential for a lasting fix. The user allows the area to air dry for several minutes. This waiting period ensures the repair product bonds correctly. Rushing this step leads to poor adhesion and visible flaws.
Check for Hidden Moisture
Hidden moisture lurks in crevices and corners. The user checks these areas with a dry cloth or cotton swab. Any remaining dampness weakens the repair. A completely dry surface guarantees the best results for any jewelry box.
Apply the Repair Product Sparingly
When owners repair minor scratches on premium boxes, less is more. A thin layer of filler hides the mark and leaves the surface level. Excess product creates a bump that catches light. Premium boxes reveal any unevenness under bright light. A careful hand protects the high-gloss lacquer and the value of the jewelry box.
Using a Lacquer Repair Pen
Match the Color to Your Box
The user selects a pen that matches the exterior tone of the jewelry box. Natural light provides the truest reading. A dark pen creates a dark line on a light surface. A clear pen works only for clear surfaces. Many brands provide pens for each surface type. The owner tests the pen on an inconspicuous area first. This test reveals how the pen interacts with the existing finish. This step prevents an unpleasant surprise on a visible panel.
Dab, Don’t Draw
The user presses the pen tip into the scratch and releases one drop. Dragging the pen spreads product beyond the groove. Tiny dabs fill the line without flooding the surface. The user waits a few seconds between dabs. This controlled method keeps the filler flush with the surface after drying. For marks near decorative trim, a halo-blending lacquer softens the boundary. A solvent-rich pen formula delivers a repair that integrates chemically with the finish.
Using Clear Nail Polish
Pick a Glossy Clear Formula
Clear nail polish suits hairline scratches. The user chooses a glossy formula without shimmer or tint. Matte polish leaves a dull patch on the surface. The polish must dry hard and stay clear. This option helps owners who lack a pen. Many jewelry boxes have clear coats that accept nail polish well. The owner should test the polish on the bottom before applying it to a visible area. A steady hand preserves the surface of the jewelry box.
Apply With a Fine Brush or Toothpick
The user dips a fine brush or toothpick into the polish. A toothpick offers the best control. The user touches the tip to the start of the line. Polish flows forward through the groove. One pass usually fills a shallow scratch. A second pass may be necessary only if the line remains visible. The user never brushes back and forth. This technique prevents air bubbles and keeps the layer even.
Common Application Mistakes
Using Too Much Product
Too much filler creates a raised bead. The bead catches light and draws the eye. Thick layers also shrink during curing and leave depressions. The user applies one thin coat, then waits. Two thin coats usually solve the problem. A polyurethane box tolerates a heavier hand. A delicate box requires restraint. Many boxes need only one application. The owner should resist the urge to overfill. A premium box protects valuable jewelry only when its surface remains intact.
Spreading Beyond the Scratch
Spreading product beyond the scratch creates a haze. The user confines the filler to the groove. A cotton swab removes excess before drying. Painter’s tape around the scratch protects clean areas. The tape stays in place until the filler cures. If the user spreads product, the mistake becomes visible from every angle. Careful boundaries preserve the box. The owner’s jewelry collection stays safe inside a well-maintained box.
Let It Dry and Buff to a Shine
Patience during the drying phase determines the final quality of the repair. A rushed job leaves soft spots, smudges, or dull patches. The user must resist the urge to check the repair too soon. Proper drying allows the filler to harden and bond with the original finish. This stage transforms a visible scratch into a seamless surface.
Allow Proper Drying Time
Wait at Least One Hour
The repair product needs adequate time to cure. Clear nail polish requires at least one hour to harden fully. Lacquer repair pens may need two hours or more. Humidity and temperature affect drying speed. A warm, dry room speeds the process. A cool, damp space slows it down. The user should plan the repair around this waiting period. Rushing the drying stage ruins the work. A patient approach rewards the owner with a durable repair.
The user should avoid any activity near the jewelry box during this time. Dust particles can settle on the wet surface. These particles become trapped in the filler. The result looks gritty and uneven. A clean, undisturbed area protects the repair. The owner should close windows and turn off fans. This simple step prevents airborne debris from ruining the finish.
Avoid Touching the Wet Spot
Touching the wet spot creates fingerprints and indentations. Even a light brush of a finger leaves a mark. The user must keep hands away from the repaired area. A curious touch can pull the filler out of the scratch. This mistake forces the owner to start over. The repair product remains soft until fully cured. The user should test a hidden area first if unsure about drying time. A small test spot reveals the readiness of the main repair.
The owner should also keep pets and children away from the workspace. A wagging tail or a curious hand can destroy the repair. A designated safe zone prevents accidents. The user can place the jewelry box on a high shelf or inside a closed cabinet. This precaution protects the repair during the critical drying window.
Buff the Repaired Area
Use Light Circular Motions
Buffing removes excess filler and blends the repair into the surrounding surface. The user selects a clean microfiber cloth for this step. A microfiber cloth applies and removes polish without scratching. The user moves the cloth in gentle circular motions. This technique distributes pressure evenly across the repaired area. The polish should haze slightly during buffing. The user must not let the polish dry completely during this process. A fresh microfiber cloth removes the hazy residue. Light pressure prevents damage to the delicate lacquer.
The user should avoid power tools and buffing attachments. Hand buffing prevents heat damage. Power tools generate friction and heat. This heat softens the lacquer and creates new problems. A hand-held cloth gives the user full control. The user can feel the surface and adjust pressure instantly. This tactile feedback protects the jewelry box from accidental burns.
Stop If the Finish Feels Warm
Heat signals danger for lacquer surfaces. The user should touch the surface lightly during buffing. A warm feeling means the friction is too high. The user must stop immediately and let the area cool. Continued buffing on a warm surface damages the finish. The lacquer can cloud, crack, or lift from the base material. A cool surface indicates safe buffing conditions. The user should wait a few minutes before resuming. This pause prevents irreversible damage to the jewelry box.
The user should also check the cloth for debris. A dirty cloth drags particles across the surface. These particles create new scratches. The owner should shake out the cloth or switch to a fresh one. A clean cloth ensures a smooth, scratch-free result.
Check Your Results
View Under Bright Light
Bright light reveals the true quality of the repair. The user should examine the area under a lamp or near a window. Natural daylight provides the best view. The user tilts the jewelry box at different angles. This technique catches reflections and shadows. A well-repaired scratch becomes invisible under these conditions. A poorly repaired scratch shows a dull spot or a raised line. The user should look for any remaining defects. This inspection determines whether additional work is necessary.
The user should also run a finger gently over the repaired area. A smooth surface feels flush with the surrounding lacquer. A bump or dip indicates too much or too little filler. The user notes these issues for the next step. A careful inspection saves time and prevents unnecessary rework.
Repeat Only If Needed
A successful repair requires only one application. The user should avoid the temptation to add more product. Additional layers create a raised surface. This bump catches light and draws attention. The user should repeat the process only if the scratch remains visible. A second thin coat may help in some cases. The user must wait for the first coat to dry completely before adding more. This patience ensures a smooth, level result.
The user should also consider the overall appearance of the jewelry box. A tiny imperfection may be acceptable. Chasing a perfect result can lead to overworking the surface. The owner should weigh the risks of additional repair against the benefits. A conservative approach preserves the original finish. The user can always seek professional help if the result remains unsatisfactory.
A successful repair leaves the jewelry box looking clean and well-maintained. The owner can store jewelry inside without worry. The repaired surface protects the contents from dust and moisture. This care extends the life of the box and the jewelry it holds. A little effort yields a lasting reward.
Know When to Call a Professional
Signs a Scratch Is Too Deep
Visible Wood or Base Material
Deep scratches require prompt professional attention. A scratch that exposes bare wood passes beyond cosmetic damage. The protective lacquer layer has failed completely in that spot. Moisture enters the wood and causes swelling. A professional can assess the damage accurately. The owner should not attempt a DIY fix on exposed wood. This task requires more than a simple filler.
Cracked or Lifted Lacquer
Cracked lacquer presents a distinct challenge. A lifted or chipped coating loses its seal. The surrounding finish remains intact but compromised. Attempting to fill a crack traps air beneath the surface. This issue leads to further peeling. A professional knows how to stabilize the damaged area. The jewelry box requires a skilled hand.
Risks of DIY on Antique or Designer Boxes
Loss of Value From Improper Repair
Antique and designer pieces lose value through improper refinishing. Collectors seek original surfaces on such boxes. A DIY patch drastically reduces a piece’s worth. Restoration requires precision. The owner of a jewelry box understands this risk. The cost of professional surface restoration outweighs the potential loss. An expert preserves the integrity of the original design.
Damage to Inlays or Gold Trim
Many premium jewelry boxes feature inlays or gold trim. These decorative elements demand special care. Abrasive cleaning or careless sanding ruins them. A professional protects these details during the process. The complexity of the box increases the risk of DIY. An owner should call an expert when decoration is involved. Protecting the trim protects the value.
What a Professional Can Do
Color Matching and Refinishing
Professionals provide color matching and refinishing services. They blend new lacquer with the existing exterior. The result appears seamless and original. A technician can replicate the exact gloss level. This expertise exceeds any home solution. The table below outlines common professional service options:
| Service | Description |
|---|---|
| Piano Lacquer | A thick high-gloss lacquer for a mirror-like surface. |
| Matte Painting | A refined, contemporary matte surface. |
| Glossy Painting | A high-sheen surface for bold visual impact. |
| Clear Varnish | Preserves natural wood grain and tone. |
| Veneer Coating | Applies natural wood veneer for structural consistency. |
| Consistency Control | Ensures a uniform appearance across the entire production run. |
Full Surface Re-Lacquering
Some damages require a complete refinishing. Full surface re-lacquering restores the entire box. This process addresses deep damage, dents, or gouges across the panel. A technician wet-sanded with 400-grit paper to level the surface. The process removes all cosmetic damage. The box receives a fresh, durable clear coat. A valuable jewelry box returns to its original splendor. The contents, precious jewelry, stay protected inside. Professional workshops offer OEM and ODM services. They control surface consistency and provide comprehensive quality inspections. Their capabilities include CNC machining, spray coating, and full assembly lines. These resources ensure a flawless result. An owner regains confidence in the piece.
Prevent Future Scratches on Your Jewelry Box
Prevention costs far less effort than a repair. A few consistent habits keep the lacquer surface glossy and free of new damage. Owners of premium jewelry boxes protect their investment through careful storage, gentle handling, and routine maintenance.
Store Your Box Carefully
Use a Soft Pouch or Lined Drawer
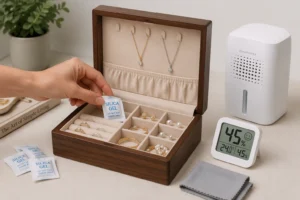
Proper storage cushions the box against impact and friction. A soft pouch or a lined drawer provides a protective barrier. Interior linings made of soft natural fibers such as silk, velvet, or cotton work best. Owners should keep jewelry pieces separated in compartments so they do not rub against each other.
To prevent scratches on a high-gloss lacquer jewelry box, use interior linings made of soft natural fibers such as silk, velvet, or cotton, and keep jewelry pieces separated in compartments so they do not rub against each other.
Keep Away From Hard Objects
Hard objects pose a constant threat to lacquer surfaces. Owners should store the jewelry box at least 1 inch away from walls or other objects. Anti-slip drawer liners cushion compartments and prevent stored items from shifting. These boxes also benefit from stable humidity between 30 and 50 percent. Heat sources dry out the lacquer and cause surface damage over time.
Handle With Clean, Dry Hands
Avoid Rings and Bracelets While Handling
Rings and bracelets carry sharp edges that mark soft lacquer. Owners should remove this jewelry before picking up a box. Clean, dry hands also prevent oils from dulling the finish. This simple habit protects both the box and the items inside.
Lift, Don’t Slide
Sliding a box across a shelf creates friction and leaves fine lines. Owners should lift the box completely before moving it. This motion eliminates contact between the base and the surface beneath it. A gentle lift preserves the bottom panel and the shelf alike.
Routine Care Tips
Dust Weekly With a Soft Cloth
Dust carries abrasive particles that scratch lacquer over time. Owners should dust their jewelry boxes weekly using a soft, dry microfiber cloth. This regular dusting removes debris that could otherwise scratch the lacquer surface. Harsh household chemicals can damage the finish, so plain water or a dry cloth works best.
Keep Out of Direct Sunlight
Direct sunlight fades lacquer and dries the surface. Owners should place these boxes away from windows and heat sources. A shaded shelf or a closed cabinet offers ideal conditions. Consistent protection keeps the finish smooth and prevents future scratches.
Minor scratches on premium lacquer jewelry boxes often yield to a lacquer repair pen or clear nail polish at home. Owners should clean the area first, apply the product sparingly, and let it dry fully before buffing. Less is more here. A thin, careful layer protects the finish and preserves the jewelry box’s value. Deep scratches, cracks, or damage to antique and designer jewelry boxes deserve professional attention. Professional surface restoration handles these cases safely. With gentle handling and routine care, a jewelry box can stay glossy for years. Proper care also protects the jewelry inside every jewelry box. Owners who repair minor scratches early avoid costly restoration later. These habits keep fine jewelry boxes beautiful.
FAQ
Can a lacquer repair pen fix deep scratches?
A lacquer repair pen works best on shallow surface marks. Deep scratches expose wood or base material. The pen cannot fill these voids properly. Owners should call a professional for deep damage. A trained technician restores the surface safely.
Does clear nail polish damage lacquer finishes?
Clear nail polish does not damage lacquer when applied sparingly. A glossy formula seals hairline scratches effectively. Owners should test the polish on a hidden area first. Excessive product creates a raised bump. Careful application preserves the original finish.
How long should the repair dry before buffing?
Clear nail polish needs at least one hour to harden. Lacquer repair pens may require two hours or more. Humidity and temperature affect drying speed. Owners should wait until the surface feels firm. Buffing too early ruins the repair.
Can owners use toothpaste to remove scratches?
Toothpaste contains abrasive particles that create new scratches. This method damages the protective lacquer layer. Owners should avoid toothpaste and abrasive sponges entirely. A lacquer repair pen or clear nail polish offers a safer solution. Gentle methods protect the finish.
Why do scratches become more visible over time?
Scratches trap dirt, oil, and dust particles. These contaminants darken the groove and increase contrast. Ultraviolet light also fades surrounding lacquer. Early repair prevents this buildup. Acting quickly keeps the scratch nearly invisible.
Should owners repair scratches on antique jewelry boxes?
Antique boxes require professional attention. DIY repairs reduce collector value significantly. Improper fillers damage original finishes and inlays. A professional preserves the piece’s integrity. Owners should consult an expert before touching the surface.
How often should owners dust a lacquer jewelry box?
Owners should dust the box weekly with a soft microfiber cloth. Regular dusting removes abrasive particles before they scratch. A dry cloth works best for routine care. Harsh chemicals damage the finish. Consistent maintenance keeps the surface glossy.
Can sunlight cause new scratches on lacquer boxes?
Sunlight does not create scratches directly. Ultraviolet rays dry and fade the lacquer over time. A weakened surface scratches more easily. Owners should store boxes away from windows. Stable humidity and shade protect the finish.
See Also
Exploring Premium Jewelry Box Finishes: Lacquer, Matte, And Fabric Options
A Complete Guide To Personalizing Your Own Jewelry Drawer Box
Selecting The Best Interior Lining For Luxury Jewelry Boxes
Assessing The Quality Of A Jewelry Box Manufacturer Effectively